Friday, May 14, 2021

More port settee


I put two coats of primer and two coats of paint on the underside/backsides of the settee locker coverings.  I'll come to regret this decision later because it got the order of operations all wrong. I have a new rule:  do NOT paint anything until I'm absolutely sure I've attached all the things that need attaching.  Here you see that I don't have the locker cover supports attached yet.  I'll also end up adding cleats, stiffeners, sliding rails, and retaining toggles.  Each of those things requires me to sand down to the wood again, and instead of using Titebond III woodglue, I have to use thickened epoxy because of the uneven surface that results.  And of course, epoxy eats at the one part paint I used, so it gets a bit gummy.  Much time wasted for an uglier result.  So, yeah.  Paint goes on at the very last minute.  


And now for many photos of how I put the sliding tracks on for the sliding berth top.  

The trick here was to get the 4 slides EXACTLY parallel.  

Here you see them laid out generally where they'll go.
I decided that these would be mounted upside down compared to how you'd do it for a normal drawer; I want the sliding top to have the most support, and therefore the wider female part of the slide.  Plus, anything that falls under the berth top will have less of a chance of getting jammed in the slider. Not a major issue, but an example of how many little design decisions go with every part of this boat project thing. And nearly all my decisions are guesses. 

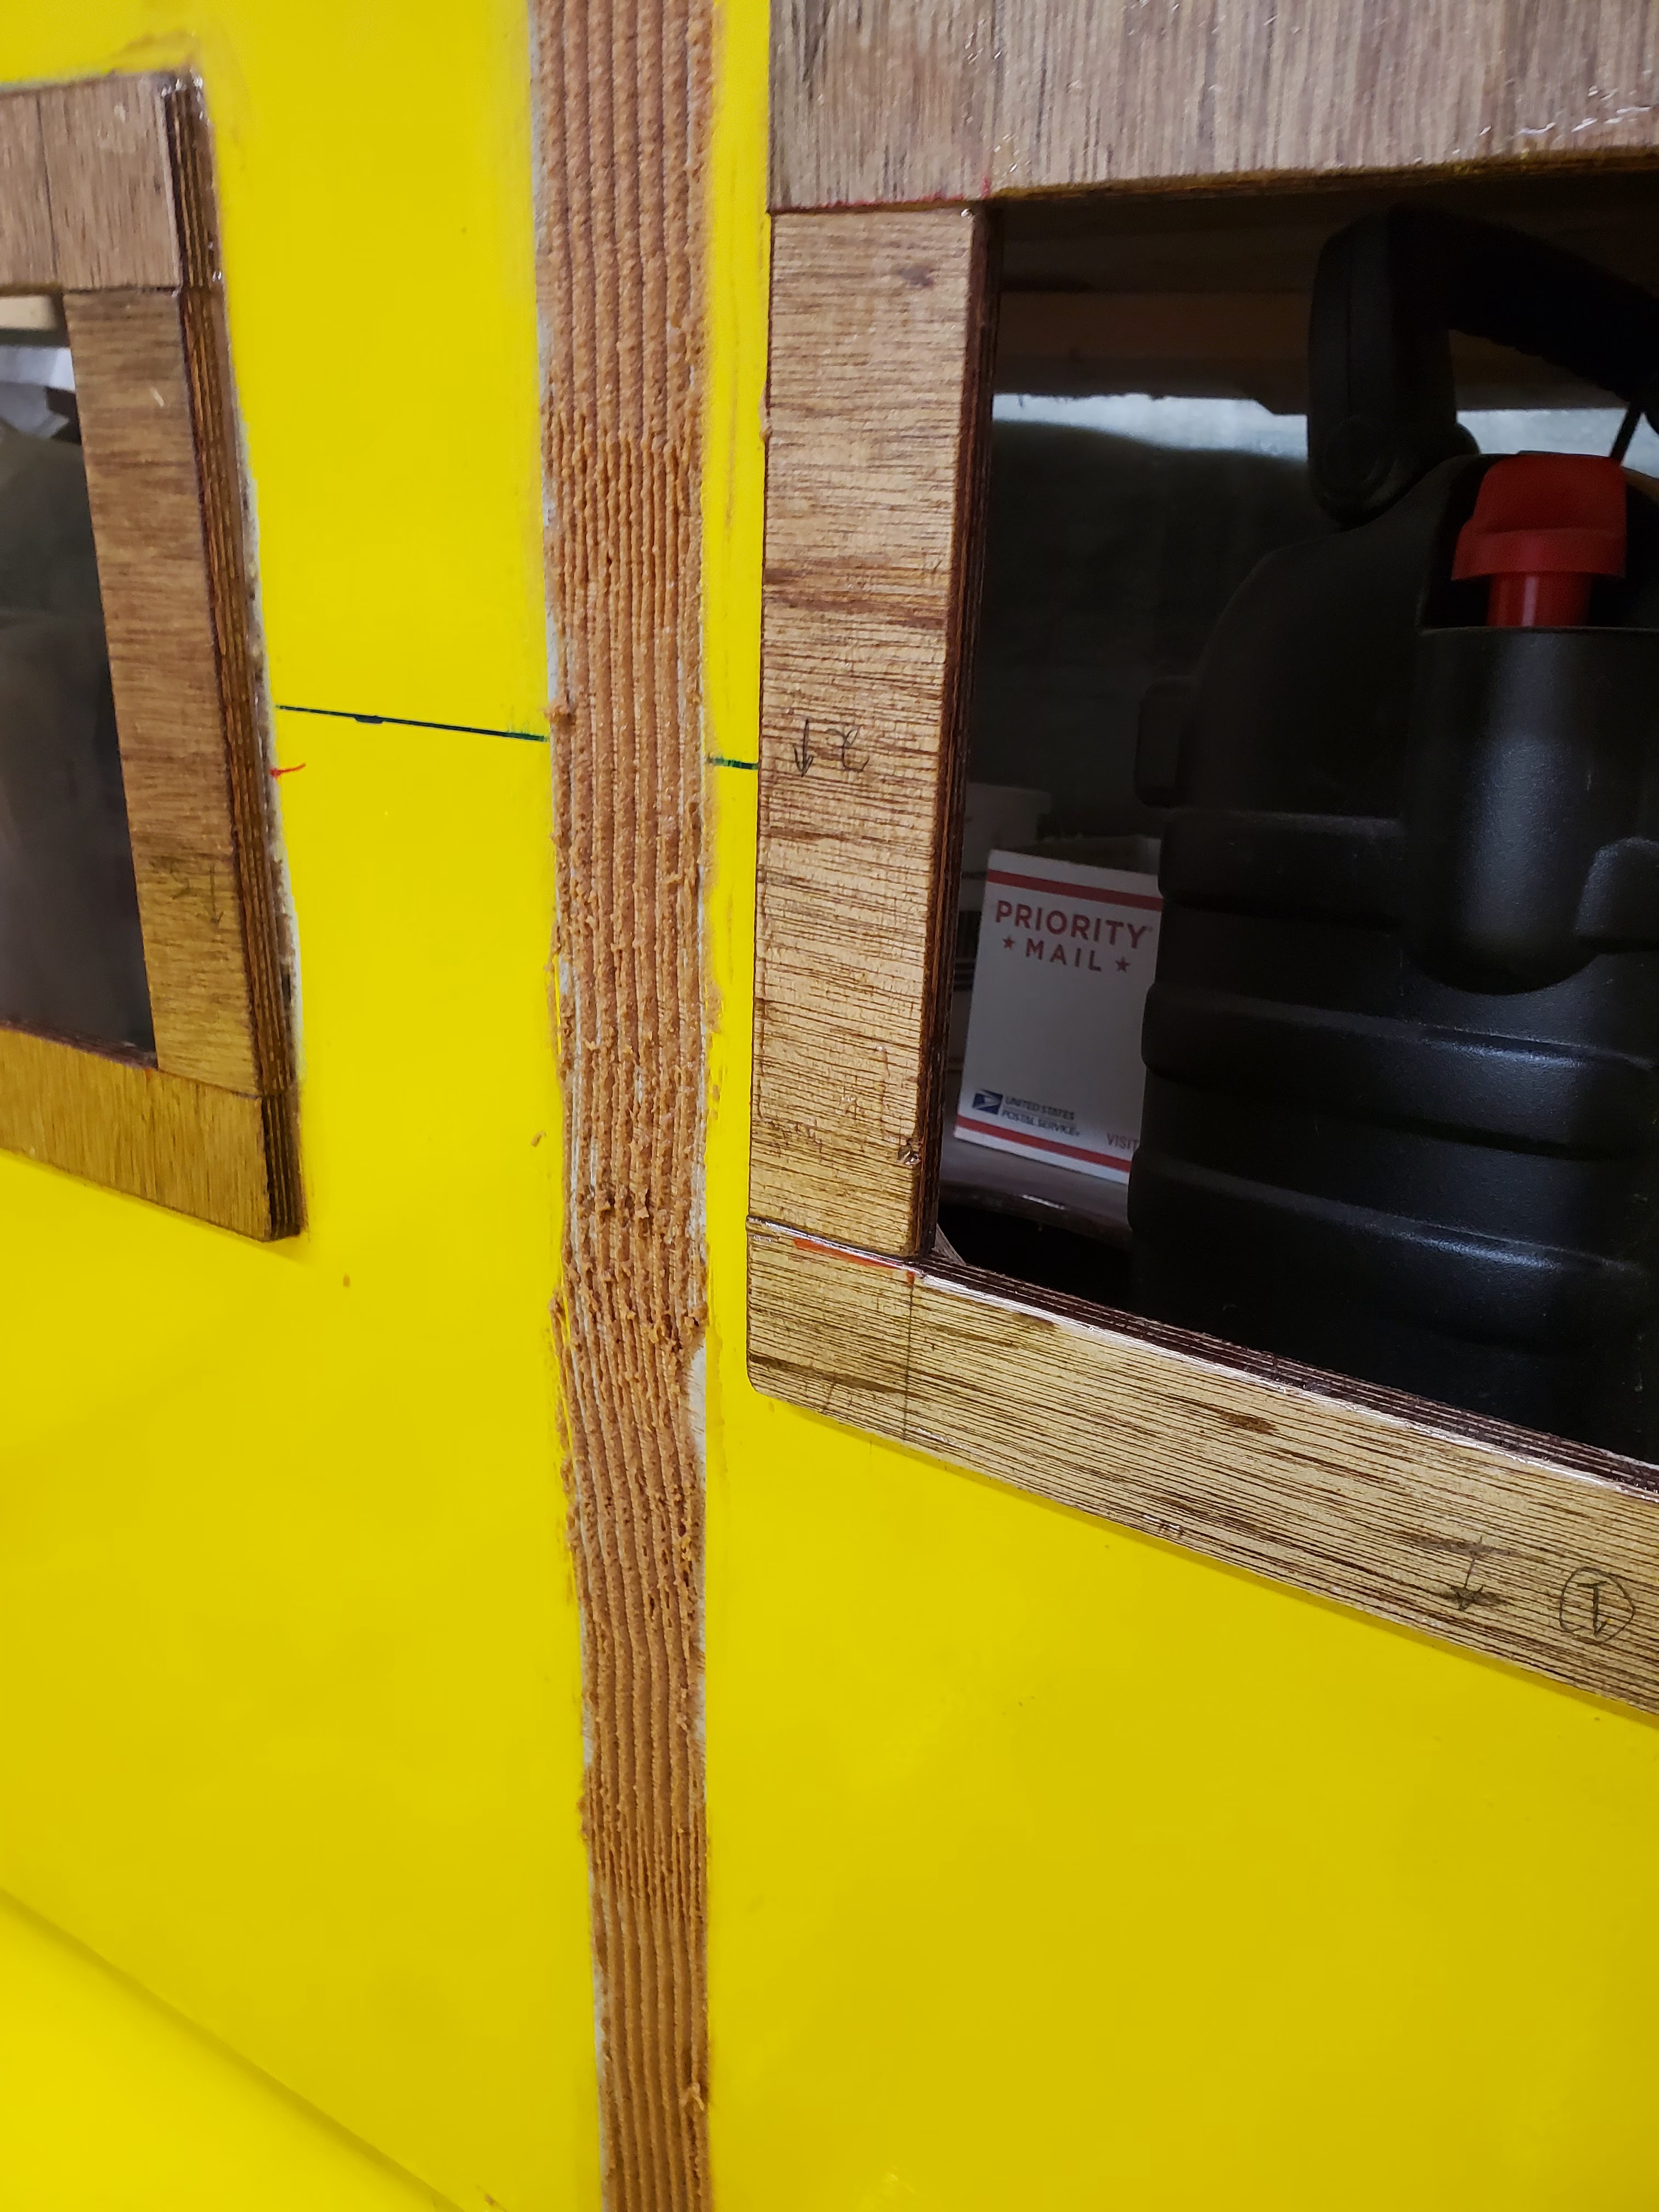
Anyway, I drilled pilot holes and counter sinks on the ends of each of the male rails.  Note to self:  your countersinks suck.  They go dull nearly instantly.  It might be worth an investment in a good one.  


I temporarily attach one side only of each (the left hand / inboard side in the previous picture) rail, except for the second from the forward end, which is attached on both ends.  This will allow the other three to shift to parallel to this fixed one in the next steps. 

I slipped the female slides onto each, laid a long narrow piece of scrap 1/4" ply across all of them at the INBOARD end, and carefully drilled a pilot hole in the the outboard edge of each just big enough for a brad to fit in. 
This locked the distance of the inboard ends of the female sliders to the distance between the inboard ends of the male sliders which are fixed to the support surface. 


Sliding those sliders to the outboard end now guarantees that the distance between the sliders on the inboard ends are now equal to the distance on the outboard ends.  To whit: contraption's sliders are now parallel to each other.  They may not be exactly square with the back edge, but they don't need to be.  I thought this rather ingenious 'cause I thought it up all by myself.  It's probably a technique the ancient Egyptians knew. I'm not really breaking new geometric carpentry ground here. 


I screwed the males sliders to the under-piece, locking in that delicious parallelism. 
I clamped the top on to keep anything from shifting, then drilled pilot holes and temporarily fixed both ends of the female sliders to the top. The top now has four parallel female slider fixed to it to match the parallel male pieces below. 

Another note to self:  put some butcher's wax on the contact surfaces of the sliders before all this assembly.  I ended up needing some significant taps with mallet to get this apart.  With the wax everything slides much better. 
Then the whole thing gets marked with various pencil lines so I can take it apart, put glue on it, and hopefully realign the screw holes again while it's all messy and slippery and squeeze out is covering said pencil lines and I'm cussing quietly to myself while moving quickly and trying to catch significant glue drips and turn clamps with one hand while holding the wood in place with my teeth and my other hand and ignoring my phone which always chooses this time to ring and then one of the screws strips out and I have to get the needle nose vice grips to extract and replace it and now another piece has slipped and oh crap the clamping caul is too tight and distorting the assembly and...

So, normal glue up procedure.  We see the calm clamped result here.

 And the exciting process repeated for the underside of the top with the female sliders here. 


And the whole assembly.
I did end up buying a better countersink. Carbide and soooooo much better.  I'll have to think about whether it should be used on fiberglass, or get a second one for that.  They are quite expensive, though. 
I made up a whole bunch of these stand-off blocks and epoxied them in the lockers.  They are 1" thick to match the insulation (which I ordered) and will serve as the anchor points for the insulation cover panels I need to make out of 1/4" or 6mm ply.  I am tempted to use luan door skin for this because it's so cheap, but it's probably false economy.  It's not strong, not waterproof glues, and has the potential to make my life miserable if it fails in three years.  I'll probably go with okoume 6mm. 


Wednesday, May 5, 2021

Port Settee Work

With the main tabbing completed, I could turn my attention to the settee design and bits.  This photo is about all I have for what I'm sure was many hours of thought when I laid out the starboard side. There are kinda similar marks on the port side bulkhead - but mostly I'm cursing myself for not taping plans or schematics or... something to the boat somewhere.  Or a notebook. That's what regular people do.  My memory is truly terrible - so this loss of brainwork over the last two years in which the project languished fallow is a real drag.

Anyway, I know the original plan was to make the settee seat slide UNDER the settee back, with a cushion on it that magically revealed itself as the seat was pulled out into a berth.  The problem there is that the forward-most portion of the seat actually meets the hull in the closed position, so there's no room to hide the cushion.  This would lead to a strangely shaped infill piece needed for that.  Two strangely shaped infills, actually, because the berth will have two different available depths - 22 inches wide for rough seas and a lee cloth, and 28 inches for calmer weather sleeping. 

Also, the hidden mattress trick (which is what the original Pearson 10M had on the starboard berth) is a bit more challenging construction:  the seat backs need to float above the sliding mattress.  The payoff just isn't worth it.  So it will be a simple slide out berth with infill pieces stored somewhere around the saloon lockers. Somewhere.  Maybe in the bottom of the locker where the slid-in mattress would have been.

In putting in the cleats for the settee back and main shelf, I somehow let this horizonal cleat slip upwards.  Since I also stripped the silicon bronze screws holding it in (glued and screwed), this piece could not be simply unscrewed while glue was still soft.  

I had to let it cure, then came back the next day and used the miracle that is an oscillating tool with a wood blade attached to slowly rip the cleat to the correct height.  It worked a treat.


The underside of the side deck is very unfair.  There are huge globs o' polyester resin from the original liner-to-deck construction.
A few years ago I had taken down the worst parts with an angle grinder, but it's still very uneven. Here you can see some of the gaps for the cleats are up to 1/2 inch thick.  It's epoxy and wood flour to the rescue


With the cleats in place and the decision to not put a sneaky under-the-settee-back sliding berth base in, I cut and fit the settee top, the back and the shelf.  This settee top is not the thing that will be sit upon - it's more like the locker top.  Attached to this top will be wooden sliders, and attached to the slider top will be the settee/berth bottom.  So these holes we see here don't get hatch covers.  The settee/berth bottom will get those, and when those are lifted I'll be able to reach down through this under-bottom into the locker. 

I'm also not sure about keeping the openings in the face of the settee above the sole.  The lockers are low, deep, and slope forward, and these openings are very close to the sole itself, so there isn't much room for hinges.  Plus I haven't figured out the saloon table situation, and it's possible that the forward most opening, and maybe the middle, will be inaccessible with the table in place. So I may end up glueing the cutouts back in place.  My goodness am I glad I've decided that this thing will be painted.  You can cover up a multitude of design changes with Boat Fair, moulding, and paint.


Wednesday, April 28, 2021

Cabin sole glued down, glassing port settee

I ran the sole hatches over the jointer, creating a slight rabbet around the edges to accommodate the thickness of the epoxy and paint coatings that will go on these and the hatch supports.  I don't want them proud of the rest of the sole. 

So they should sit just about right. 

I mixed up a batch of boat fare and fared in the area around the cockpit drain exit in the transom.  For some reason I don't have a picture of that.  I like this fairing compound.  Mix till green.  Smear on.  

 And we're finally ready to glue the sole down. I spread it on both the floors and the bottom of the sole.

I didn't use mechanical fasteners - just epoxy thickened with wood flour. 

 I used a notched trowel to spread it on both the floors and the underside of the sole. 

And there it is, looking just like it did three weeks ago, pretty much.  But this time it's staying. 

I began fairing in the sole to the areas where it runs into the hull.  Phenolic micro balloons mostly in the epoxy mix.  I actually want this to droop and self level. 


 I glassed in the port settee bits and pieces where it meets the hull.  

 Two layers of 1708 on everything, pretty much.

 And sanded and put a second coat fairing the sole in.

 And that's about it.  It was a busy three days.  

 
 Oh.  I also flew Tuesday night, Wednesday morning, and Wednesday afternoon.  Which takes a bit of time out of the workday - totally worth it.  I had some lovely flights. 

Tuesday, April 20, 2021

Cockpit drain and Cabin Soles, continued


 I ground /sanded/ shaped the opening and exit of the cockpit drain, rounding over the edges with about a 1/4" to 1/2" radius and sanding off the gel coat about 2 inches around.  I cut some strips of 6 oz glass cloth on 45 degree bias and covered the edges with about two layers.  The bias cut strips conformed very easily to the compound curves.  I'm happy with the outcome.

 The outside looks pretty good, too.  Eventually this will get covered with a flapper gate to reduce water running up into the boat the wrong way in a following sea or chop.


The galley bilge got a second coat of primer.  I had waited beyond the 72 hours specified, so it needed a light sanding first.  I'm not sure I did the best job of that because I really hate sanding all those odd spaces.  But hey, it's just the bilge. 


 The sole hatch support frames got two coats of epoxy.

And rest of the day was spend laying out, cutting out, and framing out the galley bilge hatches.  I put in two - one was able to stay on the center line and match up with the other four in the salon: 18 inches long and 8 inches wide.  
Well, almost 8 inches wide.  Because of the toe kick and odd angles around the galley counter the forward section of the galley sole was made in two pieces.  The joint of the those piece was almost perfect for the hatch side, but it wanders a little away from exactly fore and aft.  Like, 1/4 inch.  So the forward side of the hatch is slightly wider than the aft. I don't think it will be noticeable.  


Monday, April 19, 2021

Salon Sole Hatches and other items


I started the day with two lovely flights over fields greening and forests just bud breaking. Delightful. Landed on my feet both times, so yay me.  My PPgPS app hasn't been working correctly, so I didn't get a record of my tracks.  Oh well. 

The big work today was for the salon sole hatches.  I cut them out, built frames for them to rest on, and installed the frames.  

I'm a little concerned about the second from the foreground - the jigsaw blade got a bit askew during the cut, so I had to sand the hole and the hatch piece significantly to get the edges back to perpendicular - it may be that the hatch is now too small for the hole.  

I rounded over everything with a 1/8" radius router bit.  It's a tiny roundover, yes, but I don't want a big gap around these to collect more dirt.  It is a sole, after all. 

I also cut the cockpit drain tube flush both inside the cockpit and out on the transom.  

 I slapped a little leftover fairing compound around some gaps in the cockpit side.  Next comes rounding over these edges somehow, and running some glass from inside the tube out over the cockpit and transome.  I'm thinking just two layers of 10 oz glass cloth cut on bias, maybe 3-4 inches into the tube and onto the transom and cockpit liner.  This isn't for strength so much as smoothing the entry and exit nicely.  Make it all pretty kinda.

I also cut the outside  of the head / nav station 45 degree bulkhead angle flush, rounded it some, and glassed it in with a strip of 1708 on each corner.  It's really starting to come together. 

Thursday, April 15, 2021

Bilge Paint, Cockpit Drain Install, Sole Work - Part II

 A cold and rainy day, but progress.

The tabbing on the galley floors was cured enough to sand the entire area.  It was cramped work and I used four types of sanders to get at all the spots.  But it's ready for primer.

I also laid out the hatches on the bottom of the cabin sole.  I'm doing things a little out of order - I should probably have done this before I painted - now I have to sand the paint off the edges of the hatches for the hatch supports.  It turns out all four hatches can be 18 inches long by 9 inches wide.  And each on has an end that lands on a floor, which saves a tiny bit of support infrastructure work.  I'm deciding how I'm going to secure them down - gravity's good, but mechanical fastening is better. 

 I sanded and ground into shape the remaining bits for the cockpit drain tube.  It was as uncomfortable as I imagined, but I had a full face shield / particulate mask and ear muffs on so it had a spacewalk feel to it.  It turns out I can fit my entire body into the lazarette.  I think I've lost weight. 

Back in the cabin - the galley bilge is primed.

And back in the lazarette, the cockpit drain tube is glassed in. Whoot!  I'm taking the next three days off for fun and games.  My back and knees say I've earned it. 


Wednesday, April 14, 2021

Bilge Paint, Cockpit Drain Install, Sole Work


A few very productive days if I do say so myself.  And this is with me going for a 20 minute paramotor flight on Tuesday afternoon. I'd have stayed in the sky longer, but my hands got cold, my left should started to complain at keeping my hands on the break toggles, and I'm not yet comfortable enough to just stow the toggles and fly with the throttle and weight shift only.  Soon.  Landed on my arse, too. 


So I'm using this stuff in the bilge.  I used it already in the chain locker and it cured well enough given time and over primer.  

However, I noticed this.  I'm not sure why it's so "For Metal Substrates Only."  It's not something chemical, as far as I can think of.  So it's probably that the paint doesn't flex very well and so isn't great for surfaces that contract/expand much, or dent easily.  Anyway, I'm using it.


I like the bright yellow color; I'm not sure why most people paint their bilges that sad grey.  It'll be like a burst of sunshine whenever I open an access hole.

The cockpit is getting a heavy weather oh shit we've been pooped drain.  That's the cutout just above the sole. 

First I had to plug up some ugliness at the bottom of the lazarette.  Filled with fairing mix, I'll put a piece of glass over it later. 

This is the only bulkhead remaining from the original construction.  I didn't see a reason to replace it, though the work is pretty messy.  That gap in the plywood here just doesn't even make sense. 

This is the other side of the gap - looking forward from inside the lazarette.  In order to glass the tube in solidly, I need to tidy this up a bit to make a better landing area for the 1708 tape.

I made the tube 9" x 3" ID cross section to really get the water out of the cockpit fast.  I made the tube out of fiberglass wrapped around a plastic downspout cut in half and separated by two pieces of luan doorskin.

You can just barely see on the right the cleanup work on the bulkhead.  This is a day later when things are ready for installation.

This was pretty straightforward except that in order to glass the bottom aft portion, I was working upside down with most of my body stuffed into the lazarette opening. The little area between the tube and the existing centerline stiffener is touchy - I'll let what I've done so far cure, then come back to grind it clean and finish up.

This is that pesky underside.  I'll have to grind a little of the side tabbing off here, too, before painting.   You can bet that will be fun, with my face two inches away, upside down.

And here's it sticking out the transom.

You can see right into the companion way.  

I got a second coat on the bilge and a first coat on the bottom of the sole. 

Epoxy coating the aft sections on of the sole

The aft three floors glassed in.


And finally, the funky corner piece in the head that will provide the surface for the grab rail near the nav station.  Cut, tacked, and glassed.